
Immediately after buying the house, we took down the wallpaper border and painted the area behind it with paint that the previous owners left. We also took down the curtains, but that was about the extent of the work done. There was zero lighting in the room, and the switch on the wall controlled the top plug of all 4 outlets. For a long time, this room didn't really have a purpose for us. It was a craft and sewing room of sorts, and it mostly held a lot of junk, as you can see in this post from last year. When we bought the piano, we decided that eventually it would be nice to add some built-ins to this room and make it a sort of piano room and library. It only took a year to complete, but that's just what we did! Here are some of the after shots. Then at the bottom of the post I'll put a list of what exactly we did. There will be some individual posts later about certain parts of the room.

 |
| Same picture as above but at night and with the lights on and dimmed. |
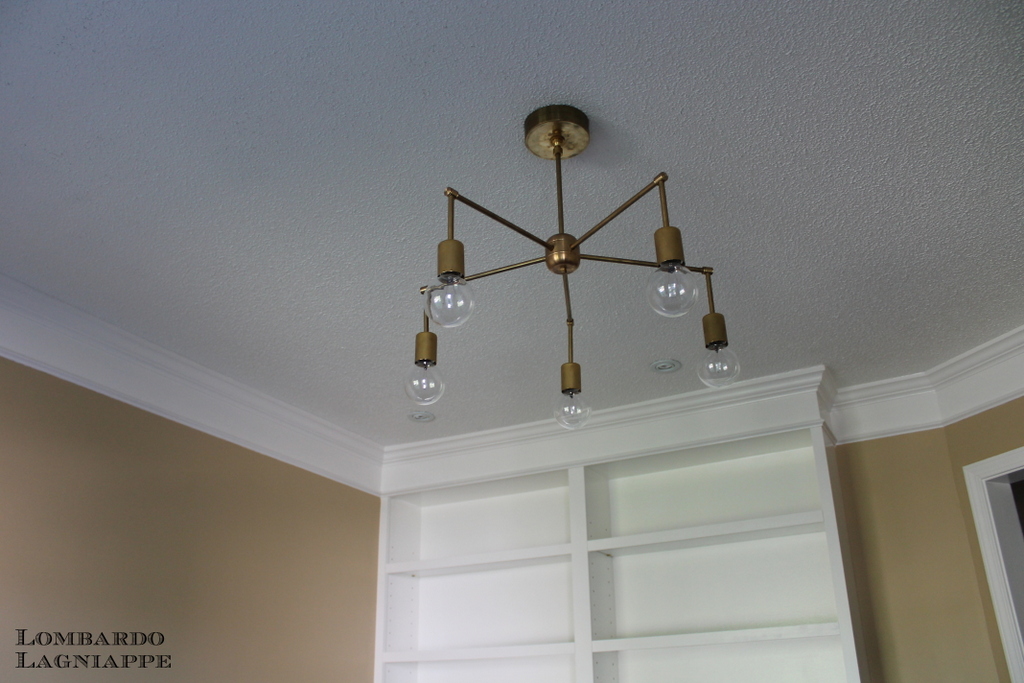 |
| I'll definitely be doing a post on the light fixture. Joe built it for us! |

 |
| All of the shelves except for the bottom one on each side are adjustable. |
 |
| We managed to get the counter stained to almost the same color as the flooring. |
 |
| I love our little recessed spot lights! |
What we did (mostly in order):
- Paint the ceiling
- Paint the walls
- Rip up carpeting
- Replace window trim
- Paint the cabinets I bought on Craigslist for the base of the built-ins
- Move the outlet that would be behind the cabinets up the wall about 3 feet
- Build a base for the cabinets and secure them to the wall
- Rewire existing light switch to make a double switch and add the electrical workings to include an overhead light and 2 recessed lights for the book cases
- Build the brass "chandelier"
- Install all three new lights
- Build the book case boxes
- Build, stain and poly the countertop
- Paint the book cases and shelving
- Install counter, book cases, and shelving
- Install crown moulding and baseboards
- Paint all the trim, then re-cut in with the wall paint
DONE! (except for those pesky cabinet doors)
Joe and I are very happy with and very proud of this room. It may have taken a while, but we figured it out as we went along and the result is even better than I think we both imagined. There is still plenty of "decorating" to do in this room, but for now we are happy to admire our handy work everyday. I even wrote this post while sitting in it! If you stop by to visit, you can bet we'll show it off to you :)
Very impressive! I love the wide crown moulding, and the chandelier is awesome! I think you guys need to come live with us for awhile. :)
ReplyDelete~ aunt Audrey
Lisa!! This is great. Y'all are so handy (ps.. love the light fixture)
ReplyDeleteThanks, Sarah! It's been very nice to have it done. I hope you and Rhett have a great time in Florida this week. Happy early anniversary!
DeleteWow, Lisa and Joe! This looks great! I can't wait to see it up close this Friday. Your shelves put mine to shame and your chandelier looks fantastic.
ReplyDeleteThanks, Dad! Just don't look too close at the paint job when you're here. Your painting skills put mine to shame :)
DeleteYou guys did a great job! Wish you lived close to us...I can guarantee you I would hire you to do some work around here! lol. Sounds like the two of you enjoy doing this kind of thing together.
ReplyDeleteAunt Sharon