Well, I sold my first cake, and it was just as stressful as I expected it to be. I just kept expecting it to fall apart at any second. I even considered making a back-up batch of cupcakes to bring in case the cake got ruined in transit. Luckily, it made the 45 minute trip across Kansas City, and I only had to fix one little thing when we got there. Since it was for a surprise party, my co-worker met me at his neighbor's house and we stored the cake in their fridge until my co-worker was ready to bring it to his house later. I'm assuming that it made the trip down the sidewalk ok, but I probably won't know for sure until Monday.
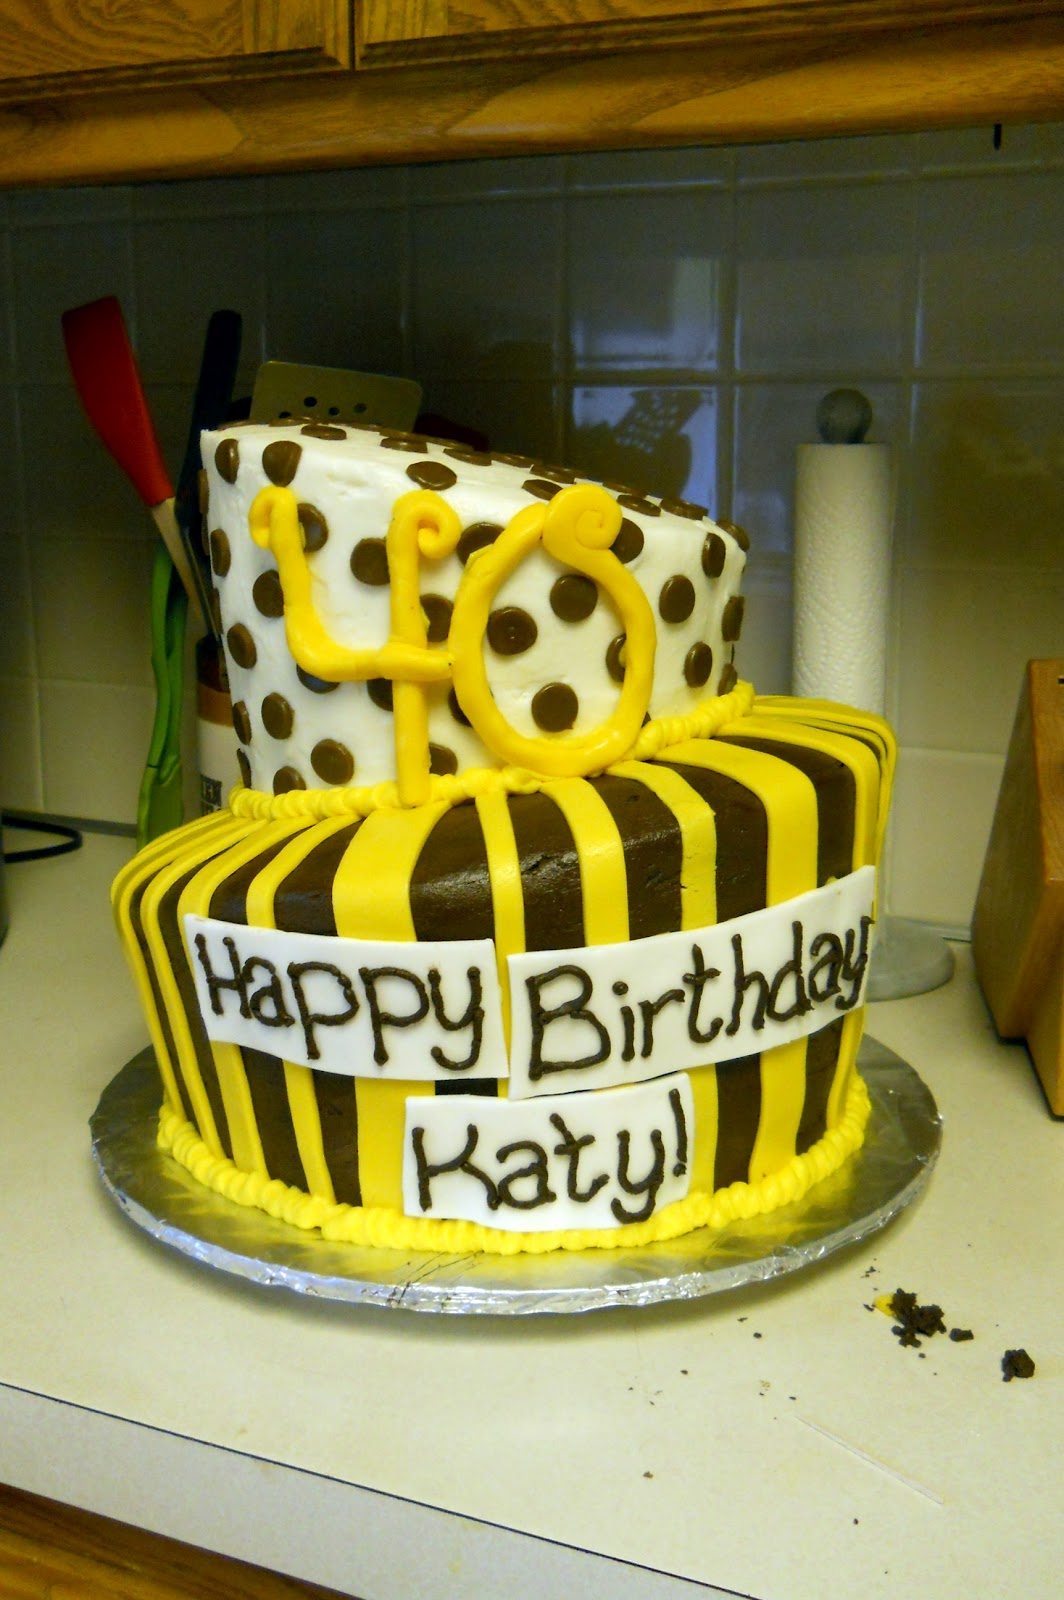
Earlier this week, we decided on a 2 tier "topsy-turvy" cake, with chocolate icing and yellow stripes on the bottom, and white icing and brown polka dots on the top. I know the colors sound a little iffy together, but he said that chocolate is his wife's favorite cake and icing flavor, and yellow is her favorite color, so that's what he wanted. I was hoping to put the number 40 on top, but I knew that it wasn't going to stand up on its own, so on the side it went. I'm pretty happy with how the whole thing turned out, I just wish the "Happy Birthday" part and the 40 had been better.
The process started on Wednesday with making the fondant for the accents. Then on Thursday I baked the cakes; 3 layers of 8" cake and 3 layers of 12". Friday night I stacked the layers to make the tiers and did the crumb coat on them. Finally on Saturday, I put the final icing coats, stacked the tiers and added all the decoration. We got a few pictures along the way so here they are!
 |
| I carved out a flat spot for the top tier to sit so that it only looks like it's sitting at an angle :) |
 |
| See, now it looks all slanty. This is why it constantly made me nervous. Even though I knew it was sitting flat. |
 |
| My fondant work station. A non-stick mat is very helpful. |
 |
| Putting on some stripes. |
 |
| You can see the wires in the numbers. I think I'd have to use gumpaste to make them hard enough to stand up on their own. |
 |
| All done! I could use some practice with icing writing. |
I just hope the birthday girl liked the cake. My co-worker seemed to really like it when I dropped it off, so I hope he wasn't just trying to be nice :) I've got a bunch of icing left over, so it may be making an appearance on here as part of a different recipe. Have a great rest of the weekend!


I think you take after your grandma! Can't believe it's your first order! Great job.
ReplyDeleteAunt Sharon
It looks wonderful, Lisa! And delicious. Great job.
ReplyDeleteDad
Your icing jobs look way better than mine. I'm not patient enough with it, I think. I'm assuming you do a crumb coat, fridge it, and then do the final coat? That's what I do...I just am interested to know in other people's methods. :)
ReplyDeleteThanks, Chase! Yes, I do a crumb coat, fridge, and a final coat, but then the trick to getting it smooth is using Viva paper towels. You just lay a paper towel over a section and then smooth it out with your hand, and Viva is the best becuase it has zero texture. It makes it easy to get nice rounded edges. My grandma used to do that to make her icing look more like fondant.
DeleteYeah, the first cake class I took told us to do the paper towel thing which I thought was pretty stinking cool. They never taught us to crumb coat, fridge, and then final coat though. Kinda had to learn that on my own and after watching entirely too many episodes of Cake Boss.
Delete